|
|
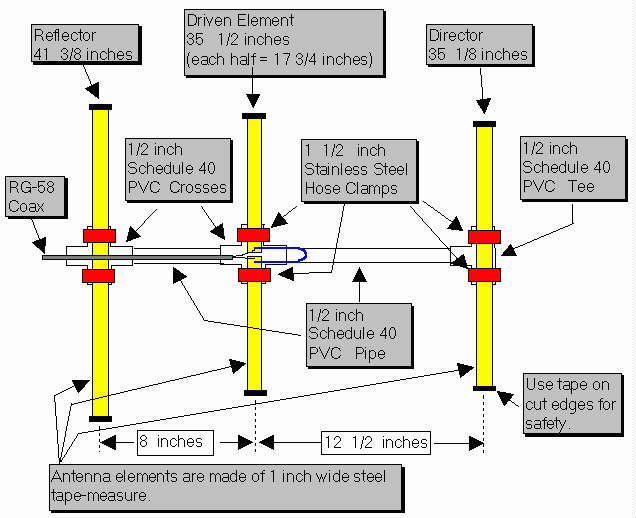
If you are looking for a cost effective project that is great for the kids, then consider this maker project that they can use with their handheld HT radios. During our 2016-2017 school year, the supplies for these antennas was only $15.31 per antenna. The largest cost we encountered was for the field line (SMS Extension Cables), and those were $4.61 new, and may be found at local HAM fests. These antennas are great for fox hunts or directional communications. This antenna build was based off of Joe Leggio WB2HOL's project. It is a beam with a really great front-to-back ratio to use in hidden transmitter hunts. This design exhibits a very clean pattern and is perfect for RDF use. It trades a bit of forward gain in exchange for a very deep notch in the pattern toward the rear. (You could optimize the design for more forward gain, but at the expense of a really good notch in the pattern toward the rear.) It is a design that can be constructed using only simple hand tools (no machine shop needed) and still perform well. It has been duplicated several dozen times by other local hams and has been successfully used as a club construction project. |
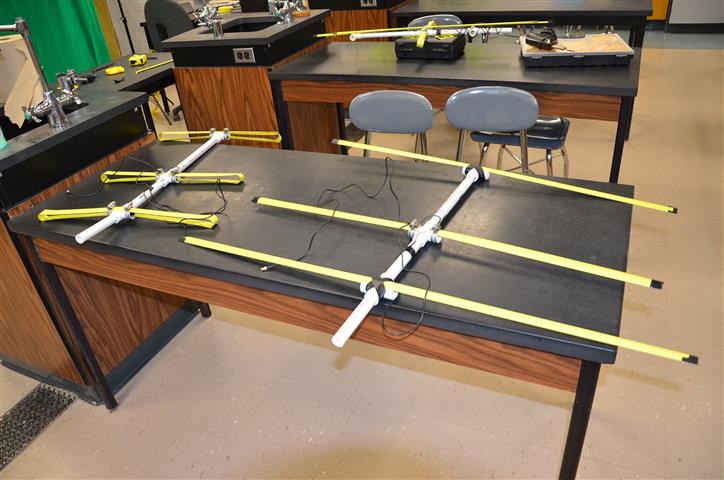
Building the AntennasWe had 5 kids (and 3 adults) make this antenna during one of our club meetings, and this project took us about an hour and half from start to finish. We even had some kids finish off early and take the antennas out for a spin before they left for the day. We have put together a detailed instruction sheet a parts and tools list, based off of WB2HOL's project page that is a little more teacher and student friendly. You are welcome to use this document to purchase the materials and walk through the steps with your class. For this project, we did not make a student handout, but you could do that from the document we provide. You can find the Tape Measure Antenna Project Instructions and Product List here. There were several things that we did during the build to helped the maker class go along smoothly and we all had fun with it, here is a listing of those suggestions:
|
|
This project was a lot of fun. The kids where able to make something for themselves, and now were are ready to start doing some fox hunts. We hope you enjoy this project with your students. 73. |
Do you have questions or more information to share?
|
Copyright © 2026, all rights reserved
The Bacon Station
HAM Tutorials, Reference, and Lessons
info@thebaconstation.com
website sponsors:
 THE BACON STATION